- glidefares B2C White Label
- About glidefares B2C White Label
- How It Works
- Crossplatform Plugin Setup
- Change Password
- Go Live
- Back Office
- Global Settings
- Upload your logo
- My Bookings / Cancel Bookings
- Manage Profile
- Setting a Markup
- Customize Searchbox
- Custom Styling (CSS)
- Settings
- Whatsapp Notifications
- Multicurrency
- Travel Insurance
- Manage Cashback
- Manage Discount Coupons
- Meals & Baggages (SSR)
Chatbot settings - B2C White Label Travel Portal
Home » Documentations » B2C White Label Travel Portal » Chatbot settings
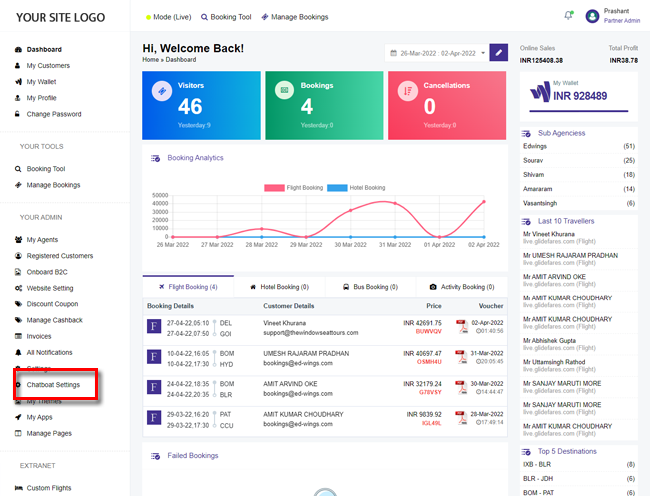
1. Login to your back office and navigate to Chatbot Settings
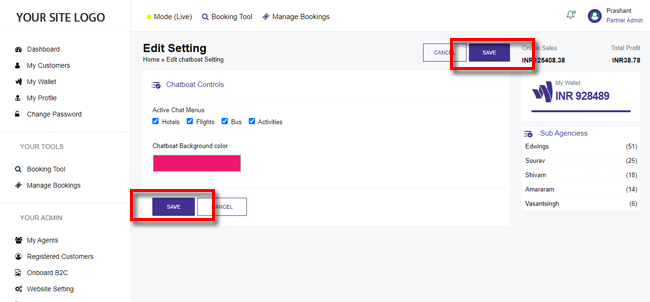
2. Edit the chatbot settings
3. Click Save.
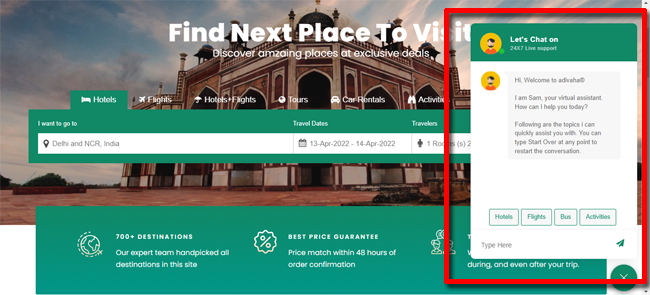
4. Your chatbot is now activated on your website.
